Let’s be real—your kitchen is the heart of your home. But if you’re squinting while chopping onions or fumbling for spices in a shadowy corner, that heart’s not beating right. Kitchen lighting design for task visibility isn’t just about seeing; it’s about feeling in control. Honestly, bad lighting can ruin a meal prep vibe faster than a burnt sauce. So, let’s flip the switch on this.
Why Task Lighting Matters More Than You Think
Here’s the deal: ambient lighting—that overhead fixture you probably have—is great for general visibility, but it’s a disaster for detailed work. Shadows from your own hands? Yep. Glare off shiny countertops? Oh yeah. That’s where task lighting steps in. It’s like having a spotlight for your knife skills, your recipe reading, and your coffee brewing.
Think of it this way: ambient light is the background music, but task lighting is the lead singer. You need both, but the lead singer carries the show. In fact, the Illuminating Engineering Society recommends at least 50 foot-candles of light for food prep areas. That’s a lot brighter than your living room. So if you’re still relying on a single ceiling fixture, you’re basically cooking blind.
The Three Layers of Kitchen Lighting
Before we dive into specifics, you gotta understand the holy trinity: ambient, task, and accent. Task is our focus here, but it doesn’t exist in a vacuum. A well-designed kitchen blends all three. But for visibility? Task is king.
1. Under-Cabinet Lighting: The MVP
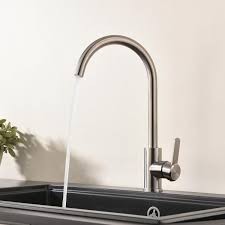
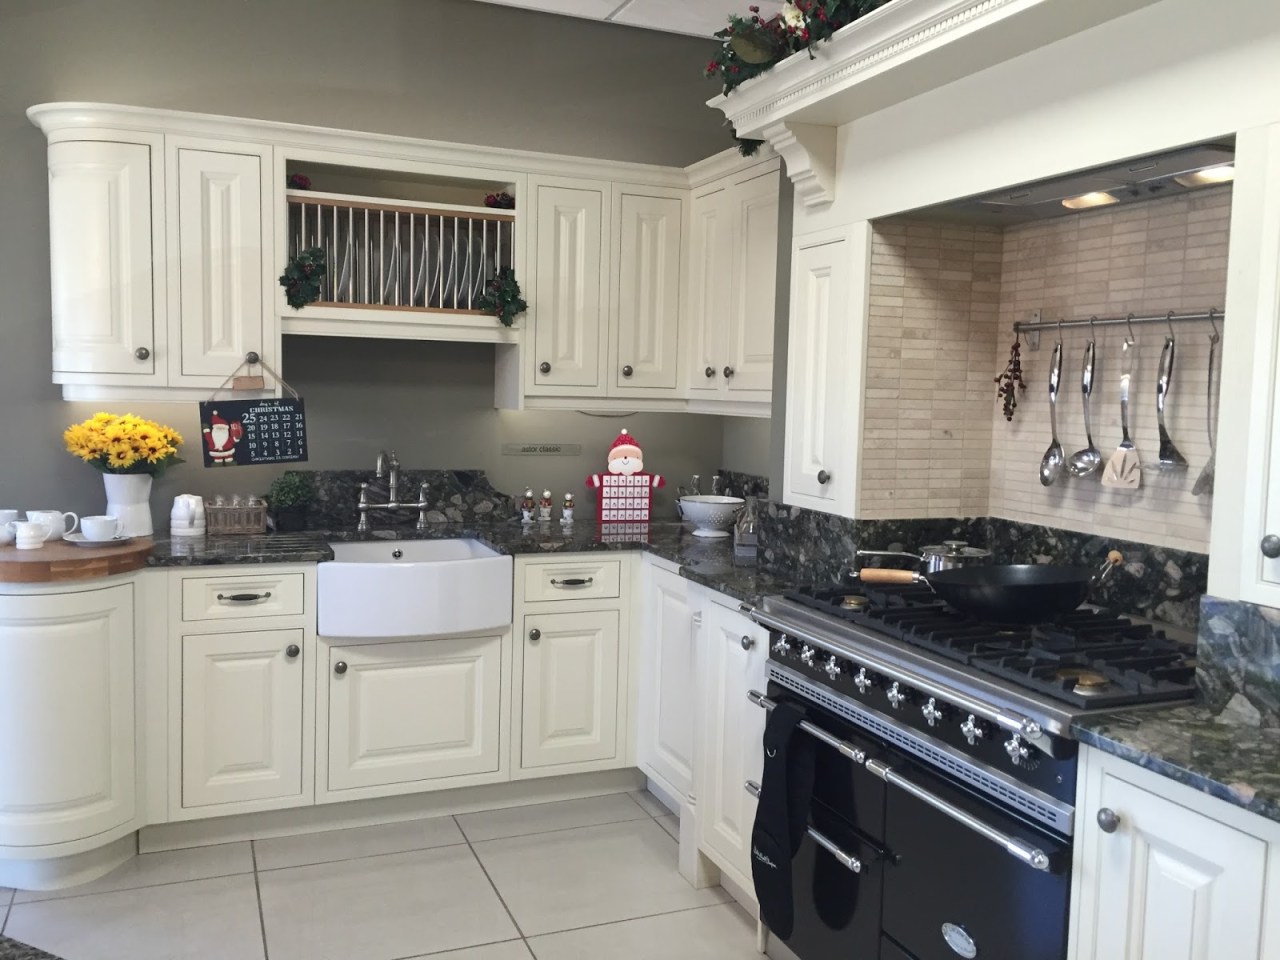
If you do one thing after reading this, install under-cabinet lights. Seriously. They kill shadows on your countertops. You know that annoying shadow your head casts when you lean over to chop? Gone. Under-cabinet strips—LED, ideally—flood the workspace with even light. I’m talking about linear strips, puck lights, or even tape lights. But here’s a pro tip: go for warm white (2700K-3000K) for a cozy feel, or cool white (4000K-5000K) if you want that crisp, clinical visibility. I personally prefer a slightly warmer tone—it makes the kitchen feel less like an operating room.
Placement matters too. Mount them near the front edge of the cabinet, not the back. That way, light hits the countertop, not the backsplash. You want to illuminate where your hands work, not where your eyes wander.
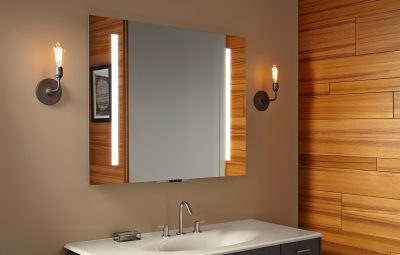
Pendant Lights Over Islands and Peninsulas
Islands are the social hubs of modern kitchens. But they’re also where you roll dough, assemble salads, or do homework. Pendant lights are perfect here—they hang low, direct light downward, and add style. But don’t just grab any pretty shade. The key is downward-facing fixtures with diffusers. Clear glass? Too harsh. Opaque shades? Too dim. Look for something that spreads light evenly, like a metal cone with a white interior or a frosted glass globe.
Height rule of thumb: hang pendants about 30 to 36 inches above the counter. Too high, and you lose task focus. Too low, and you’re bumping your head. And if you’re tall—like over 6 feet—go for 36 inches. Trust me, I’ve bonked my forehead more times than I’d like to admit.
Track Lighting: Flexible and Functional
Track lighting gets a bad rap—some folks think it’s outdated. But modern track heads are sleek and adjustable. You can aim them exactly where you need light: over the sink, the stove, or a prep zone. It’s like having multiple spotlights on a single rail. Just make sure the heads are adjustable and have a beam spread of 30 to 40 degrees for task work. Too narrow, and you’ll get a spotlight effect; too wide, and it’s just ambient again.
One quirk: track lighting works best on ceilings that are at least 8 feet high. Lower ceilings? It can feel cluttered. In that case, go with flush-mount or semi-flush fixtures instead.
Choosing the Right Bulbs for Task Visibility
Bulbs aren’t just bulbs anymore. You’ve got options—and they matter. Here’s a quick breakdown:
| Bulb Type | Best For | Color Temp (Kelvin) | CRI (Color Rendering Index) |
|---|---|---|---|
| LED | All task areas | 2700K-5000K | 90+ (ideal) |
| Halogen | Warm, crisp light | 3000K-3200K | 100 (perfect) |
| CFL | Budget-friendly | 2700K-6500K | 80-85 (okay) |
| Incandescent | Rare now—inefficient | 2700K | 100 (but hot) |
For task visibility, CRI (Color Rendering Index) is your best friend. A CRI of 90 or above means colors look natural—your red bell pepper won’t look brown, and your raw chicken won’t look weirdly gray. LED strips with a CRI of 95 are a game-changer. I swear, once you use high-CRI light, you’ll never go back.
Color temperature? Here’s a quick rule: 2700K-3000K for cozy, 3500K-4000K for balanced, 5000K for daylight. For task areas, I’d lean toward 3500K-4000K—it’s bright without being sterile. But if you have a lot of natural light, match it. Your eyes will thank you.
Common Task Lighting Mistakes (And How to Avoid Them)
We all make mistakes. But in kitchen lighting, some are costly. Here’s what to watch for:
- Relying solely on recessed lights. They cast shadows on counters—especially if you’re standing at the island. Add under-cabinet or pendant lights.
- Using only one light source. A single fixture creates harsh shadows. Layer your lighting.
- Ignoring dimmers. Task lighting doesn’t have to be full blast all the time. Dimmers let you adjust for mood or late-night snack runs.
- Placing lights too far from work surfaces. Light falls off quickly. Keep fixtures within 18-24 inches of the task area.
- Forgetting about the sink. The sink is a task zone too—washing dishes, prepping veggies. A pendant or a small track head above it works wonders.
Oh, and one more thing: don’t forget about glare. Shiny countertops (like granite or quartz) can bounce light right into your eyes. Use diffused fixtures or aim lights at a 30-degree angle to reduce that.
Smart Lighting and Automation: The Future of Task Visibility
Here’s where things get fun. Smart bulbs and motion sensors are changing the game. Imagine walking into your kitchen at 6 AM, and under-cabinet lights automatically turn on to a warm 3000K. Or using voice commands to switch between “prep mode” (bright, cool) and “dinner mode” (dim, warm). It’s not gimmicky—it’s practical. And honestly, it saves energy because lights only turn on when you’re there.
Look for Zigbee or Wi-Fi-enabled LED strips that integrate with smart home systems. Some even have color-changing options, but for task visibility, stick with tunable white. You’ll get the best of both worlds: bright for chopping, soft for eating.
A Quick Checklist for Your Kitchen Task Lighting Plan
Not sure where to start? Here’s a no-nonsense checklist. Print it, save it, whatever:
- Identify all task zones: prep areas, sink, stove, island, and any counter where you work.
- Measure the distance from cabinets to counter—under-cabinet lights need at least 2 inches of clearance.
- Choose LED strips with a CRI of 90+ and a color temp between 3500K and 4000K.
- Install dimmers for every task light—seriously, do it.
- Test the lighting at night. Shadows look different after dark.
- Consider a separate circuit for task lights—so you can turn them on without the overheads.
That’s it. Simple, right? Well, it takes a bit of planning, but the payoff is huge. You’ll cook faster, cut safer, and actually enjoy being in your kitchen.
Wrapping It Up—But Not Really
Kitchen lighting design for task visibility isn’t rocket science. It’s about understanding where your hands work, what kind of light helps them, and layering that light without creating chaos. Under-cabinet strips, well-placed pendants, and high-CRI bulbs are your best tools. And sure, you can spend a fortune on designer fixtures, but honestly, a $50 LED strip with a good CRI will outperform a $500 chandelier for task work. Every time.
So next time you’re squinting over a cutting board, remember: it’s not your eyes—it’s your lighting. Fix that, and your kitchen becomes a place of clarity, not confusion. And maybe, just maybe, you’ll stop burning the garlic.
Now go light up your life—literally.